In this article, we'll explain the steps for assembling a toolless RJ45 connector to an internet cable. Unlike a regular RJ45 connector, a toolless RJ45 connector does not require a crimping tool to secure the connector to the cable.
To understand how to terminate a normal connector to an Internet cable can be read in our blog : How do I make a UTP cable?
What You Need
- A cat5e cable on a roll or cat6 cable on a roll
- A Cat5e UTP toolless RJ45 connector or Cat6 UTP toolless RJ45 connector
- Cable stripper
Step 1 – Strip the Cable to Expose the Pairs
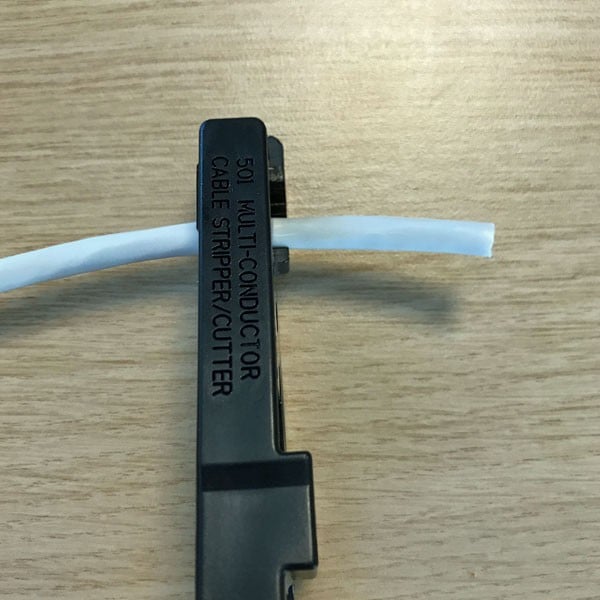
Use a cable stripper to cut away the cable sheath.
 |
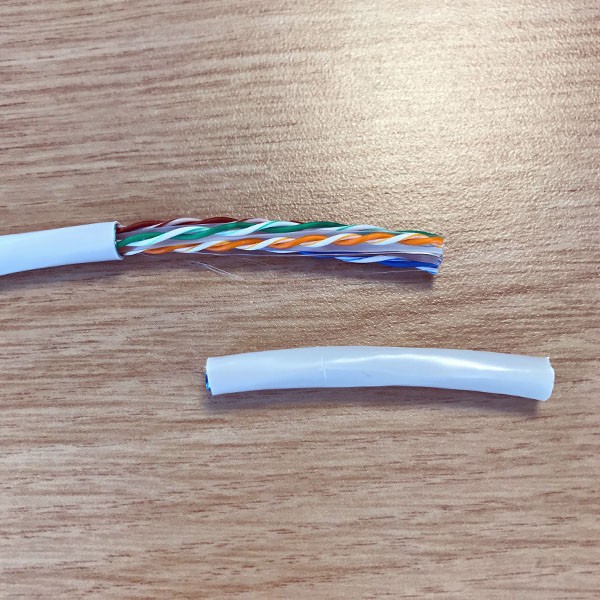 |
Here you can clearly see four pairs of wires:
1. White-Blue & Blue
2. White-Orange & Orange
3. White-Green & Green
4. White-Brown & Brown
Step 2 – Remove the "White Cross" in the Cable
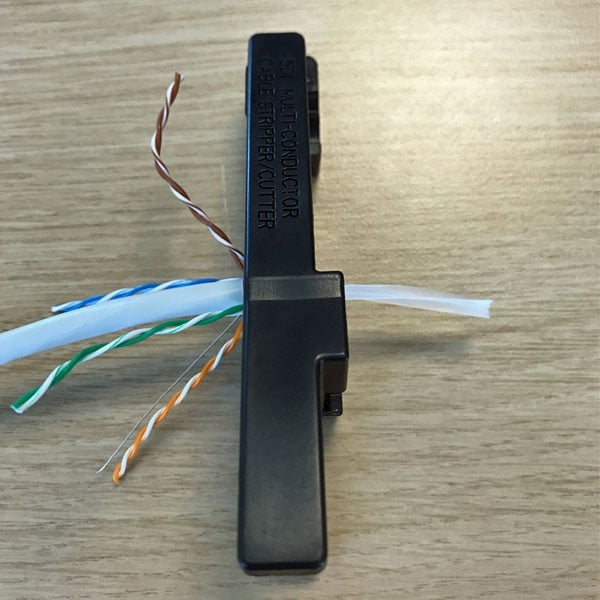
Fold the wire pairs down and use the cable stripper to cut away the "white cross" in the middle of the cable.
 |
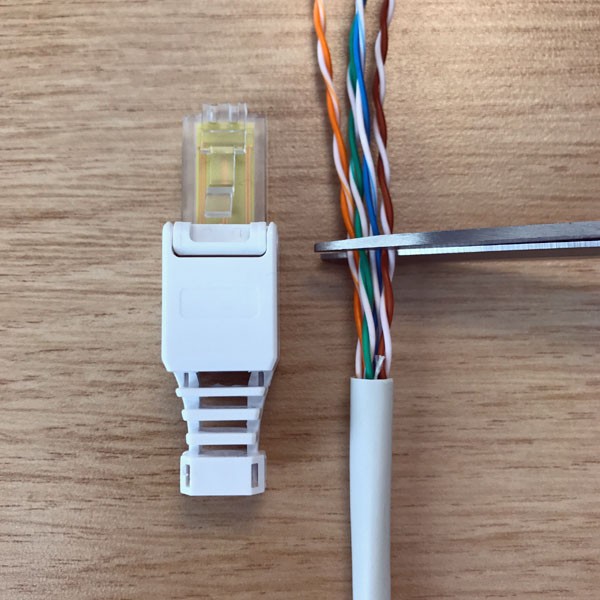
Step 3 – Cut the Wire Pairs Straight and to Size
 |
Step 4 – Arrange the Wires in the Correct Color Order According to the B Standard
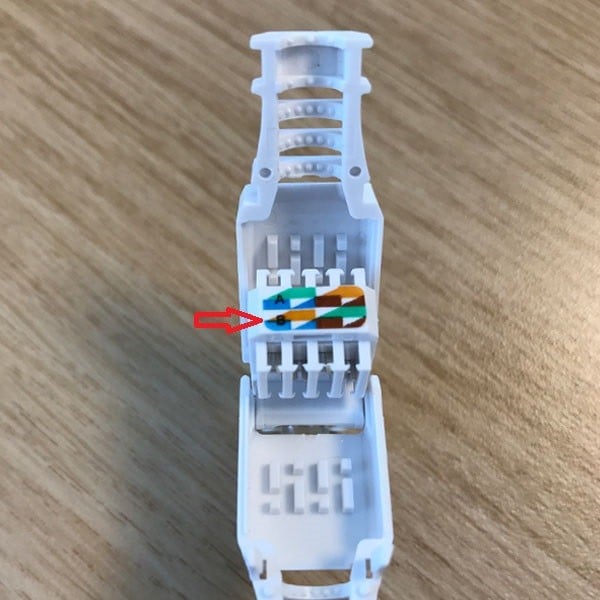 |
How to arrange wires in the connector - Top row B standard: 1. White-Orange 2. Orange 3. White-Green 4. Green Bottom row B standard: 5. Blue 6. White-Blue 7. Brown 8. White-Brown |
Step 5 – Slide the Wire Pairs into the Toolless Connector
Maintain the color order according to the B standard. In the left image, you can see the top color order of the wires as explained in step 4. In the right image, after flipping the connector, you can see the bottom order of the wires as explained in step 4.
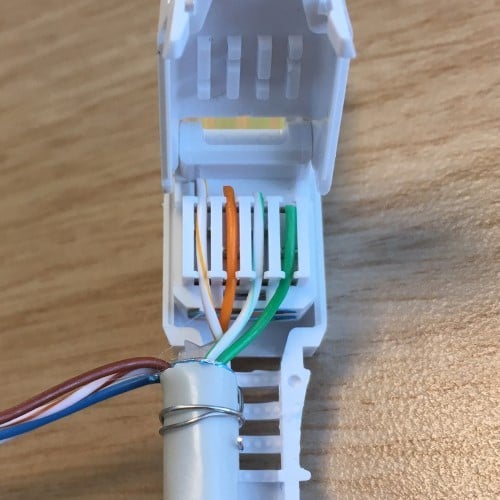 |
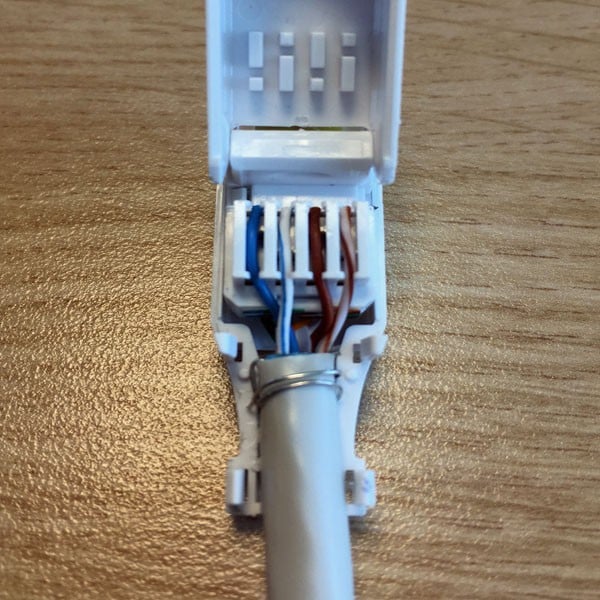 |
Step 6 – Close the Toolless Connector
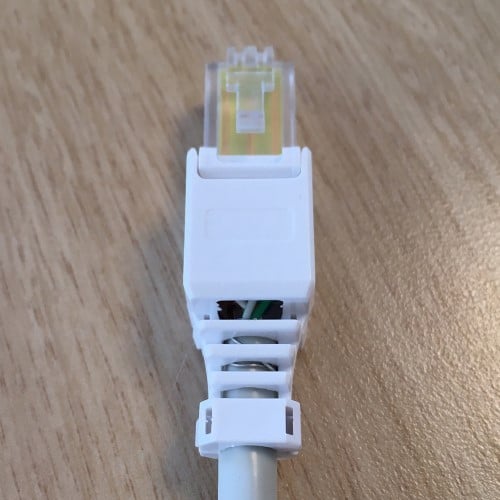 |


